
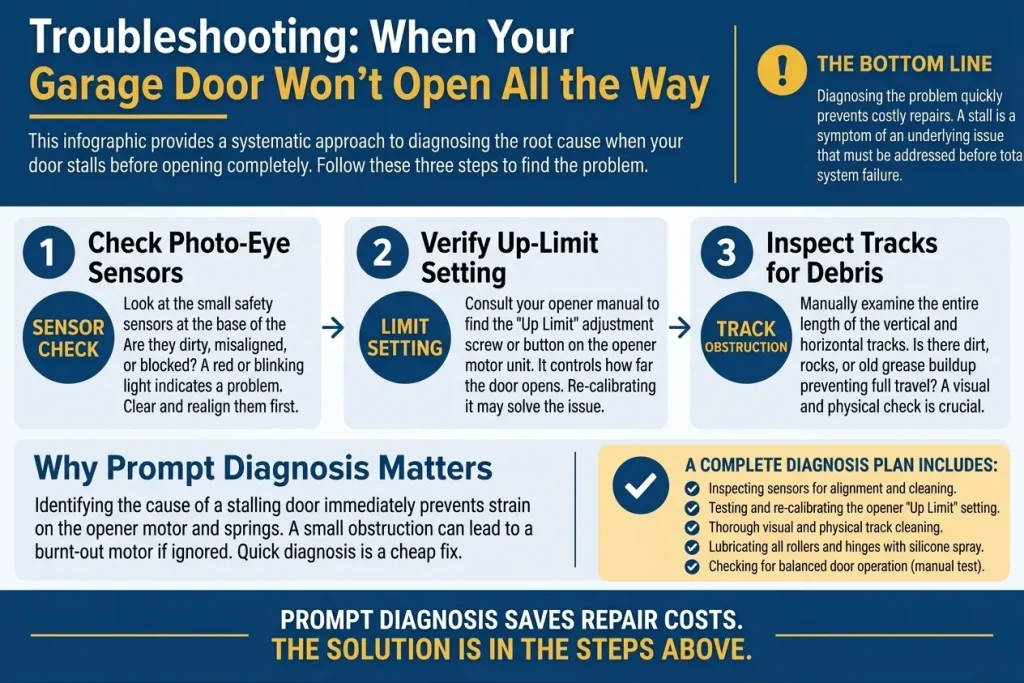
Diagnosing a garage door that won’t open all the way starts with checking the sensors, testing manual movement, and listening for unusual sounds during the cycle. Specific checks like these together narrow down the actual mechanical or sensor-related cause before any garage door service visit gets scheduled.
A flashlight and close attention are usually all it takes to complete every one of these checks in under thirty minutes without any specialized equipment. This guide walks through the exact diagnostic steps worth taking in order, what each individual step reveals, and how those specific findings shape the right next move.
Key Takeaways
- A quick visual check often narrows the cause before any tool gets used
- Sensor lights reveal whether alignment or an obstruction is the real issue
- Manual movement of the door reveals whether the springs are the problem
- Unusual sounds during the cycle point toward specific mechanical causes
- A clear diagnosis prevents unnecessary or repeated garage door repair attempts
Steps to Diagnose Why a Garage Door Won’t Open All the Way
Diagnosing this issue follows a logical order, starting with the simplest checks before moving toward anything mechanical or internal.
Diagnostic Step | What It Reveals | What to Look For |
Sensor light check | Whether alignment or obstruction is the cause | Blinking, mismatched, or solid light colors |
Manual mode test | Whether spring tension is the cause | Unusual resistance or heaviness by hand |
Listening for sounds | Where in the cycle friction or strain occurs | Grinding, clicking, or straining noises |
Roller and track inspection | Physical damage along the door’s path | Cracks, rust, or visible misalignment |
Stopping point observation | Consistency of the failure point | Same height every time versus varying |
Jumping straight to a repair without narrowing down the actual cause often leads to paying for a fix that never addresses the real underlying problem.
Check the Sensor Lights First
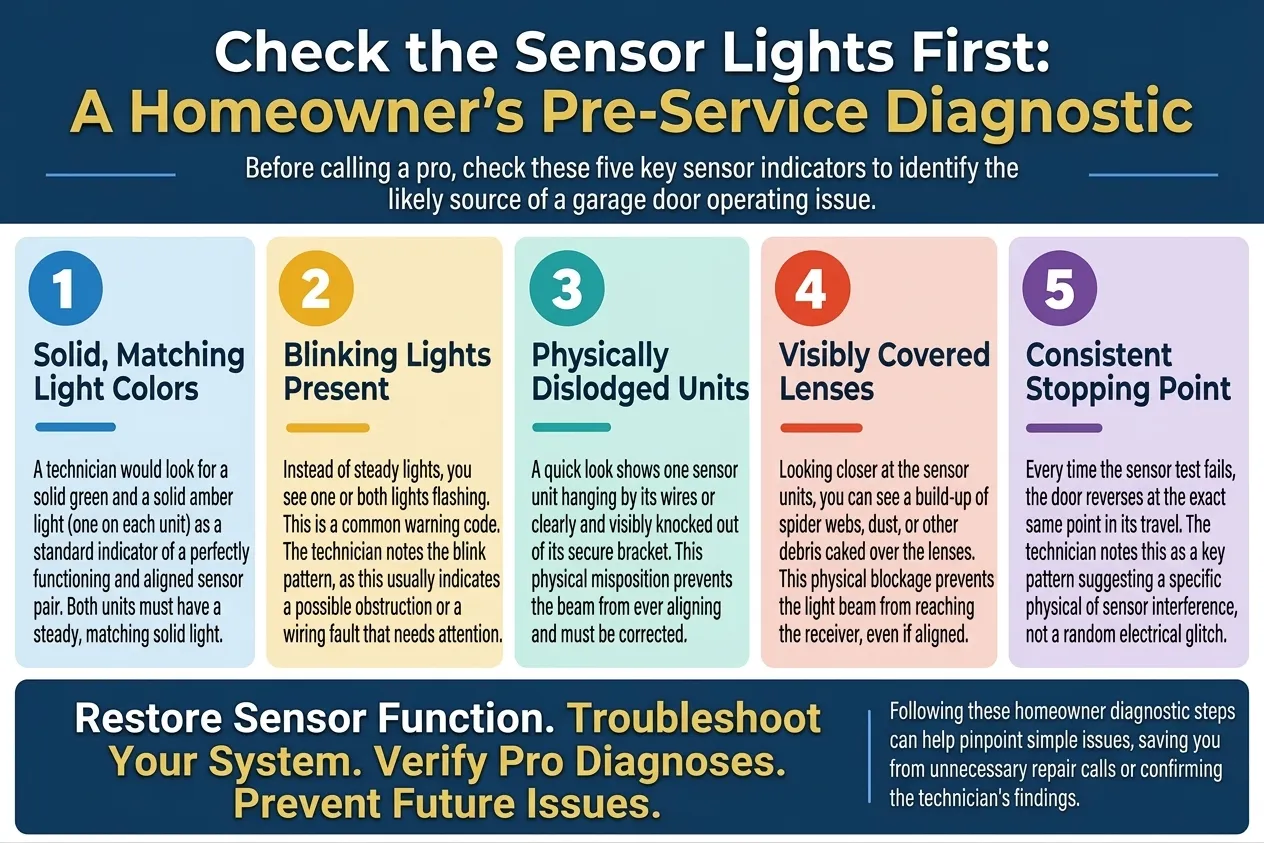
Sensor lights offer the fastest and most immediate clue toward whether an obstruction or misalignment is causing the problem at hand.
What to look for during this check includes:
- Solid, matching light colors confirming both sensor units are aligned correctly
- Blinking lights that usually indicate a possible obstruction or wiring issue
- Sensors that appear physically knocked out of their original position
- Debris or dust visibly covering either sensor lens and blocking the beam
- Consistent stopping at the same exact point during every sensor test
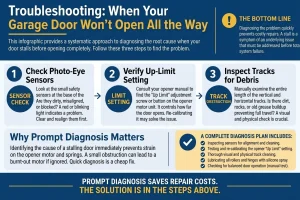
To review the full range of causes a sensor check could reasonably point toward, read our guide on Why Is My Garage Door Not Opening All the Way?, which breaks down every possibility in complete detail.
Test the Door in Manual Mode
Testing the door by hand reveals whether spring tension, and not the opener itself, is the actual source of the resistance.
Steps worth following during this test include:
- Disconnecting the opener safely using the emergency release cord
- Lifting the door slowly by hand while noting any unusual resistance
- Checking whether the door holds its position when released partway up
- Comparing how heavy the door feels now compared to normal use
- Confirming the door moves smoothly along the entire length of the track
Scheduling a garage door repair for spring tension often becomes the clear next step once manual testing reveals unusual resistance during the lift.
Listen for Unusual Sounds During the Cycle
Sounds heard during the opening cycle often point directly toward the specific mechanical component causing the problem.
Sounds worth paying close attention to include:
- Grinding noises suggesting friction between the roller and track
- Clicking sounds occurring near the exact point where the door stops
- Straining motor sounds heard without any visible door movement
- Popping or snapping sounds suggesting a spring-related issue underneath
- Silence occurring at the exact point the door usually reverses
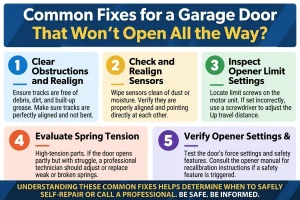
To weigh which fixes match the specific sound heard during this testing process, read our guide on Common Fixes for a Garage Door That Won’t Open All the Way, which breaks down every option in complete detail.
Inspect the Rollers and Track for Damage
A close visual inspection of the rollers and track often reveals physical damage that fully explains the exact stopping point every time.
Details worth checking closely include:
- Rollers appearing cracked, flattened, or visibly rusted through
- Track sections and hinges slowly pulling away from the wall
- Visible dents or bends running along the metal track itself
- Debris or buildup restricting smooth movement inside the track
- Bolts or brackets sitting loose along any section of track
Booking a garage door maintenance visit that includes lubrication and roller inspection often resolves friction-related causes found during this specific check.
Note Exactly Where the Door Stops
Recording the exact point where the door stops or reverses gives a technician a specific, useful detail to investigate first.
Details worth documenting during this step include:
- The exact height at which the door consistently stops each time
- Whether the stopping point changes noticeably between separate attempts
- Any pattern tied specifically to time of day or outdoor temperature
- Whether the door reverses immediately or pauses briefly first
- How the current stopping point compares to before the issue began
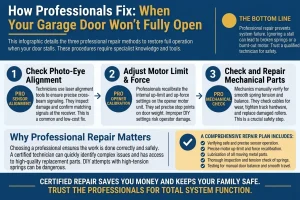
To understand how a professional narrows down this exact detail during a repair visit, read our guide on How Professionals Fix a Garage Door That Won’t Fully Open, which covers every stage of the process in complete detail.
What Are the Next Steps After a Diagnosis?
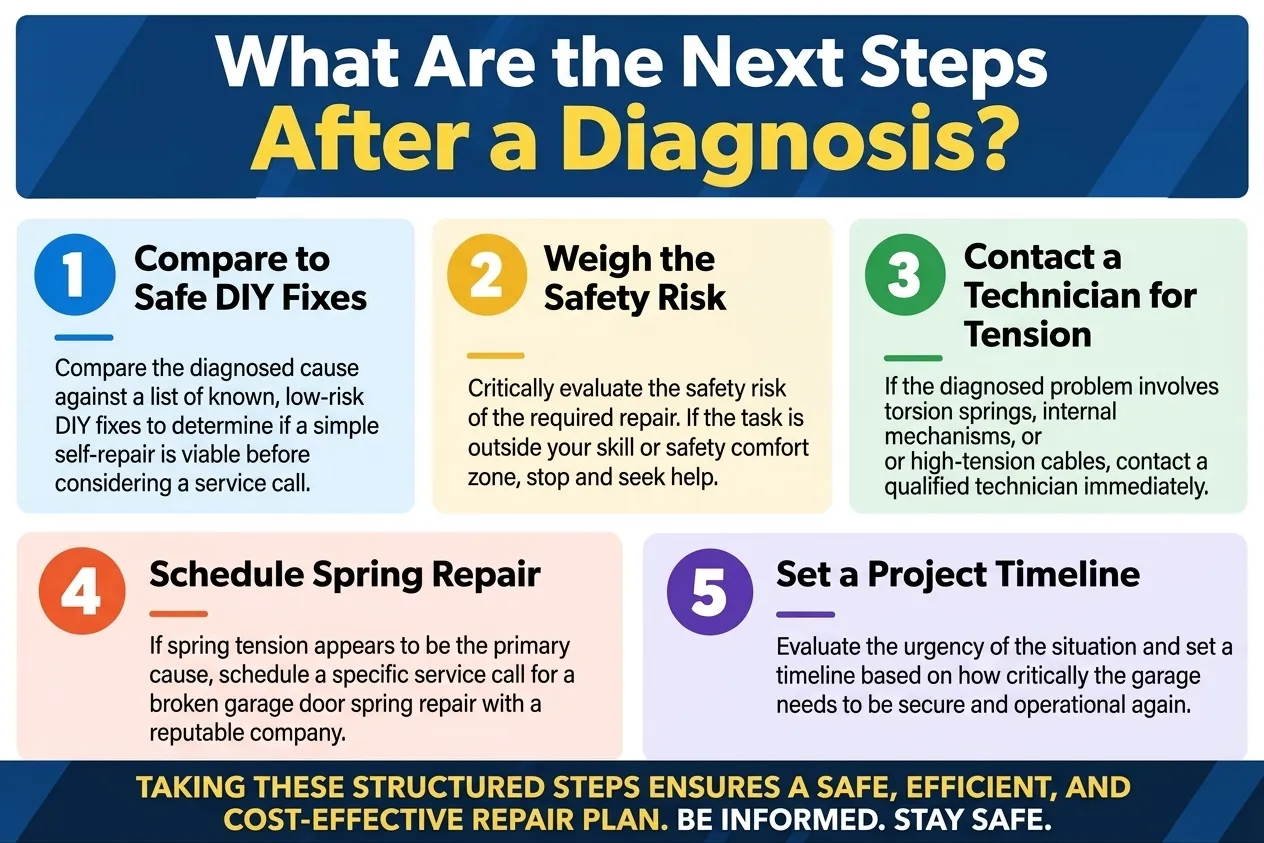
Once the likely cause becomes clear, the actual next steps depend on whether the fix is safe to attempt directly or needs outside professional help.
The following steps help decide what comes next:
- Comparing the diagnosed cause against known safe DIY fixes
- Weighing the safety risk before attempting any repair directly
- Contacting a technician if the cause involves spring tension or internal parts
- Scheduling a broken garage door spring repair if tension appears to be the cause
- Setting a timeline based on how urgently the door needs to open fully
Clear documentation from a diagnosis like this makes any follow-up repair visit noticeably faster, safer, and more accurate overall.
The Right Diagnosis Prevents the Wrong Repair
Doors that won’t open all the way rarely improve without first identifying which specific component is actually failing behind the scenes. Working through diagnostic steps in order removes most of the uncertainty before any repair work begins, leaving a much clearer path forward.
Affordable Garage Door Repairs of Castleton walks Castleton, IN homeowners through this same diagnostic process before recommending any repair, from the first sensor check through the final decision. Contact us or give us a call today, and let the team confirm exactly what the door needs to open fully again.