
Common fixes for a garage door that won’t open all the way include cleaning sensors, lubricating rollers, and adjusting opener limit settings correctly for the specific model. Trying these simple fixes first often resolves the issue on its own before scheduling professional garage door service ever becomes necessary.
Attempting fixes without first understanding the underlying cause often wastes valuable time or risks making the existing problem noticeably worse. This guide walks through the safest fixes worth attempting first, what each one specifically addresses, and what to do if the problem continues afterward despite genuine effort.
Key Takeaways
- Cleaning and realigning sensors resolves many stopping issues quickly
- Lubricating rollers and hinges reduces friction along the track
- Adjusting opener limit settings often corrects a consistent stopping point
- Some fixes carry real safety risk and should be left to a professional
- Testing after each fix confirms whether the actual cause was addressed
Safe Fixes for a Homeowner to Try
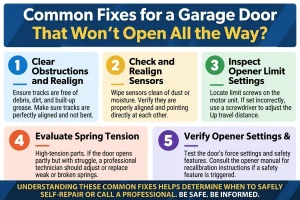
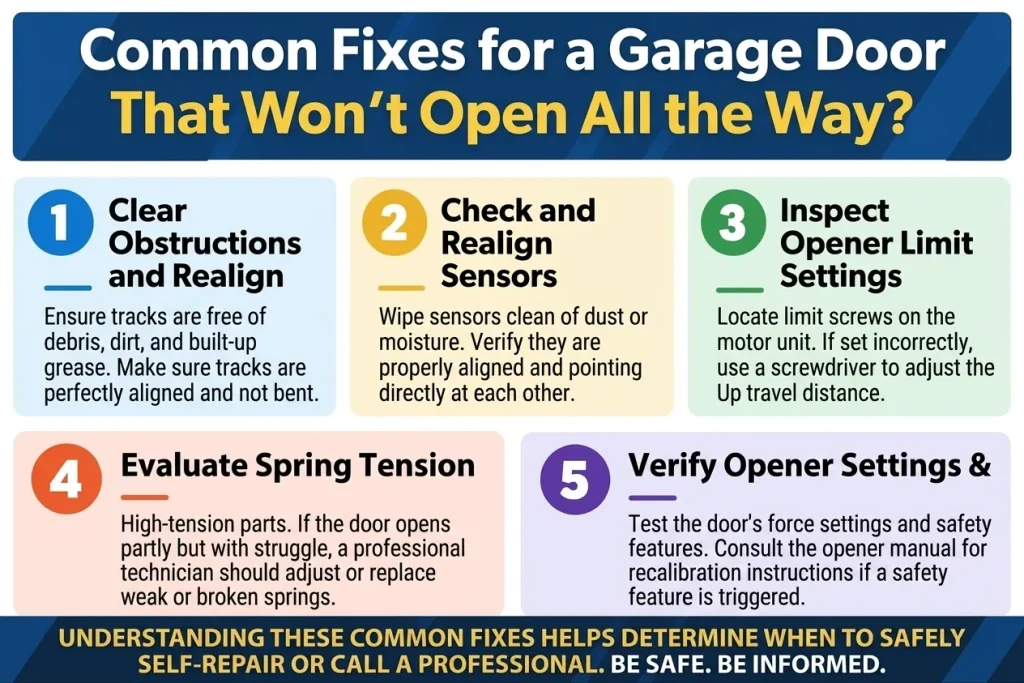
Five specific fixes can be attempted at home without specialized tools, provided the underlying cause has already been identified.
Fix | What It Addresses | Tools Needed |
Sensor cleaning and realignment | Blocked or misaligned sensors | Soft cloth, no tools required |
Roller and hinge lubrication | Friction along the track | Garage door lubricant spray |
Opener limit adjustment | Door stopping short consistently | Small screwdriver |
Hardware tightening | Loose bolts or brackets | Wrench or screwdriver set |
Obstruction clearing | Items blocking the sensor path | No tools required |
Choosing the wrong fix for the actual cause wastes both time and effort while leaving the real problem completely unresolved.
Clean and Realign the Sensors
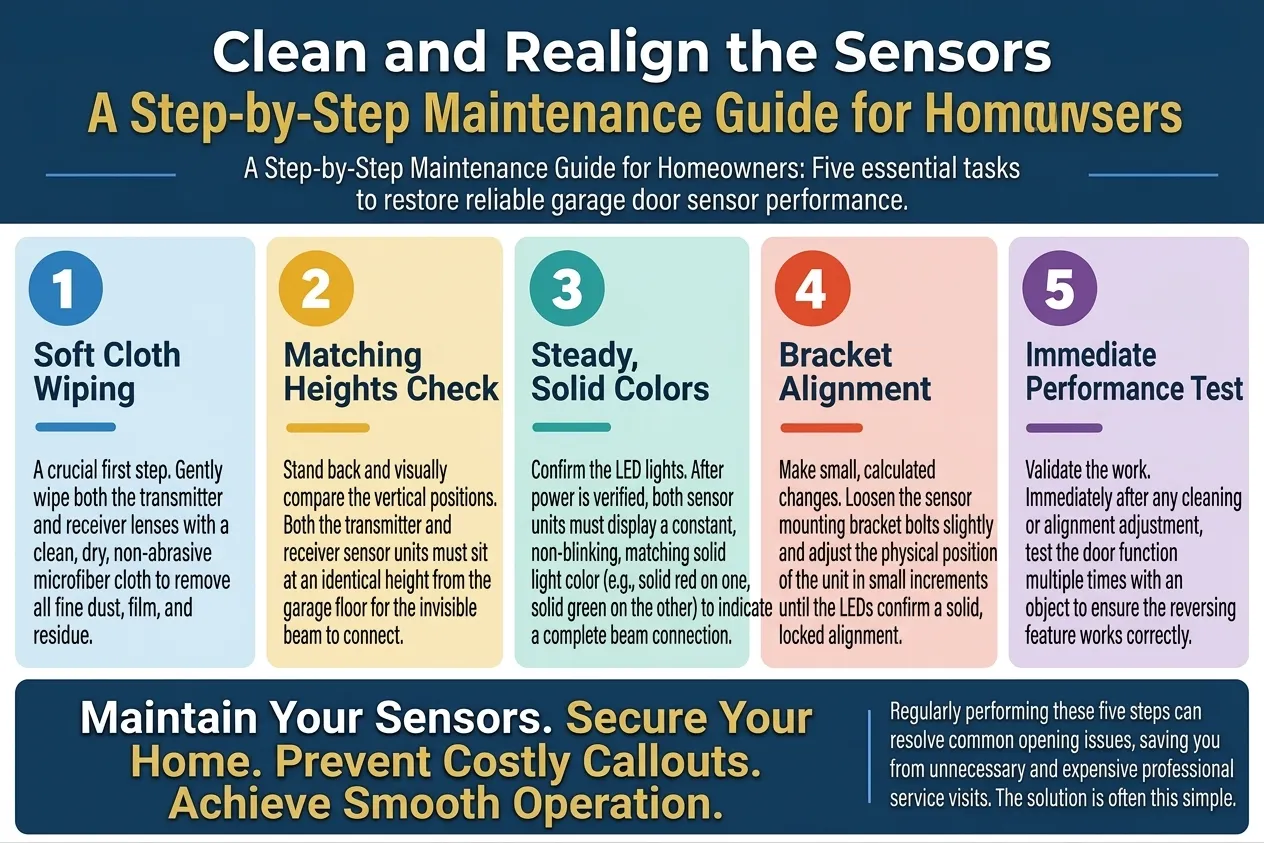
Cleaning and realigning the sensors resolves one of the most common causes behind a door that reverses before reaching the top of its travel.
Steps worth following during this fix include:
- Wiping both sensor lenses gently with a soft, dry cloth
- Checking that both sensors sit at matching heights
- Confirming both lights show a steady, matching color
- Adjusting the sensor bracket slightly until alignment improves
- Testing the door immediately after any adjustment is made
To review the full range of causes a sensor issue might realistically be part of overall, read our guide on Why Is My Garage Door Not Opening All the Way?, which breaks down every possibility in complete detail.
Lubricate Rollers, Hinges, and Track
Lubricating the moving parts reduces friction that often causes a door to slow down or stop partway through its cycle.
Steps worth following during this fix include:
- Applying garage door lubricant directly to each roller
- Coating hinges at every pivot point along the door
- Wiping excess lubricant away from the track surface
- Avoiding household oils that attract dust and debris
- Testing smoothness across a full open and close cycle
Scheduling garage door maintenance on a regular basis keeps rollers and hinges properly lubricated well before friction becomes a noticeable, recurring problem.
Adjust the Opener Limit Settings
Adjusting the opener limit settings corrects a door that consistently stops at the same height short of fully open every cycle.
Steps worth following during this fix include:
- Locating the limit adjustment screws on the opener unit
- Turning the up-limit screw slightly in small increments
- Testing the door after each small adjustment made
- Avoiding large adjustments that could overextend the door
- Consulting the opener manual for model-specific instructions
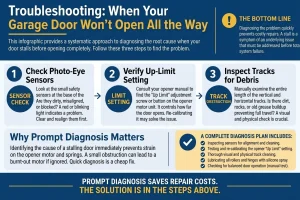
To find out how limit settings connect to other causes worth checking first, read our guide on How to Diagnose a Garage Door That Won’t Open All the Way, which walks through every diagnostic step in order.
Tighten Loose Hardware Along the Track
Tightening loose bolts and brackets restores the stability needed to keep the entire track from shifting during regular door operation.
Steps worth following during this fix include:
- Checking every bracket connecting the track to the wall
- Tightening bolts that have loosened from vibration over time
- Confirming the track remains straight after tightening
- Inspecting hinges for similar loose connections nearby
- Testing door movement after all hardware is secured
A garage door repair visit becomes genuinely worth scheduling if tightening hardware fails to resolve the stopping issue entirely.
Clear Obstructions Near the Sensor Path
Clearing obstructions near the sensor path removes one of the simplest and most frequently overlooked causes of a door that will not fully open.
Steps worth following during this fix include:
- Removing stored items sitting near either sensor unit
- Checking for spider webs or debris across the beam path
- Confirming nothing casts a shadow across either sensor
- Moving vehicles or equipment that may block the path
- Retesting the door immediately after clearing the area
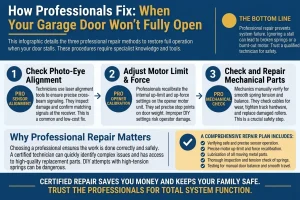
To weigh how obstruction-related issues get handled once a professional gets involved, read our guide on How Professionals Fix a Garage Door That Won’t Fully Open, which covers every stage of that process in detail.
What Happens When the Problem Persists?
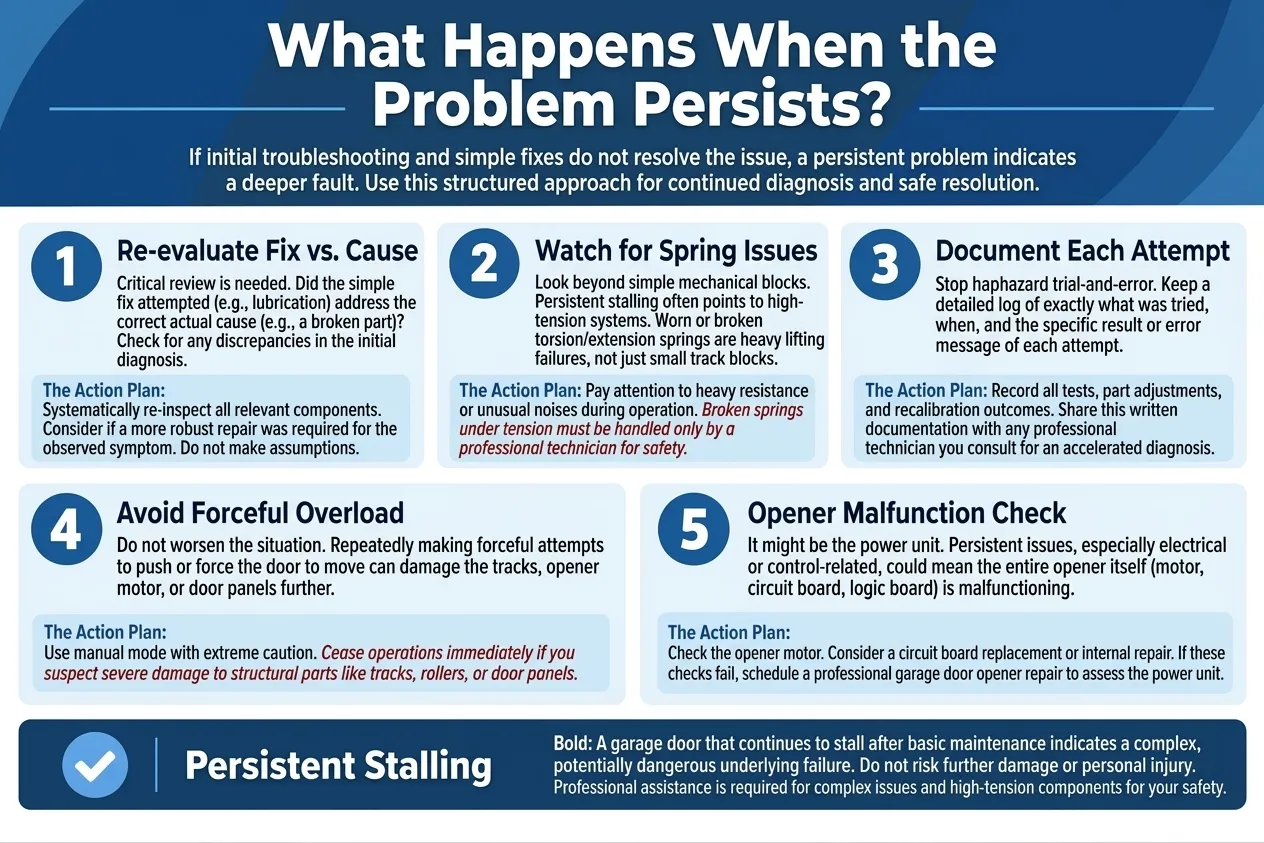
Doors that will not open fully after these fixes point toward a cause that needs closer, more specialized attention than a homeowner can typically provide.
Consider the following before attempting anything further on the door:
- Reviewing whether the correct fix matched the actual cause
- Watching for signs of a broken spring rather than a simple mechanical issue
- Documenting exactly what was tried and the result of each attempt
- Avoiding repeated forceful attempts that could worsen existing damage
- Scheduling a garage door opener repair if the opener itself seems to malfunction
Persistent trouble after multiple attempted fixes usually signals a problem that genuinely benefits from a trained technician’s closer diagnosis.
Addressing the Actual Cause Beats Trial and Error
No single fix resolves every case of a garage door that will not open fully, since the underlying cause varies from one door to the next and one home to another. Addressing the actual cause prevents wasted effort and avoids placing further, unnecessary strain on the entire opener system.
Affordable Garage Door Repairs of Castleton confirms the correct fix for Castleton, IN homeowners before any unnecessary repair ever gets recommended, saving both time and money in the process. Contact us or give us a call today, and let the team get the door working through its full range again.