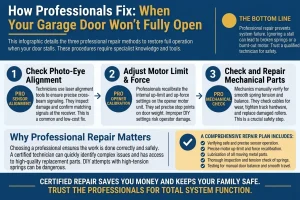

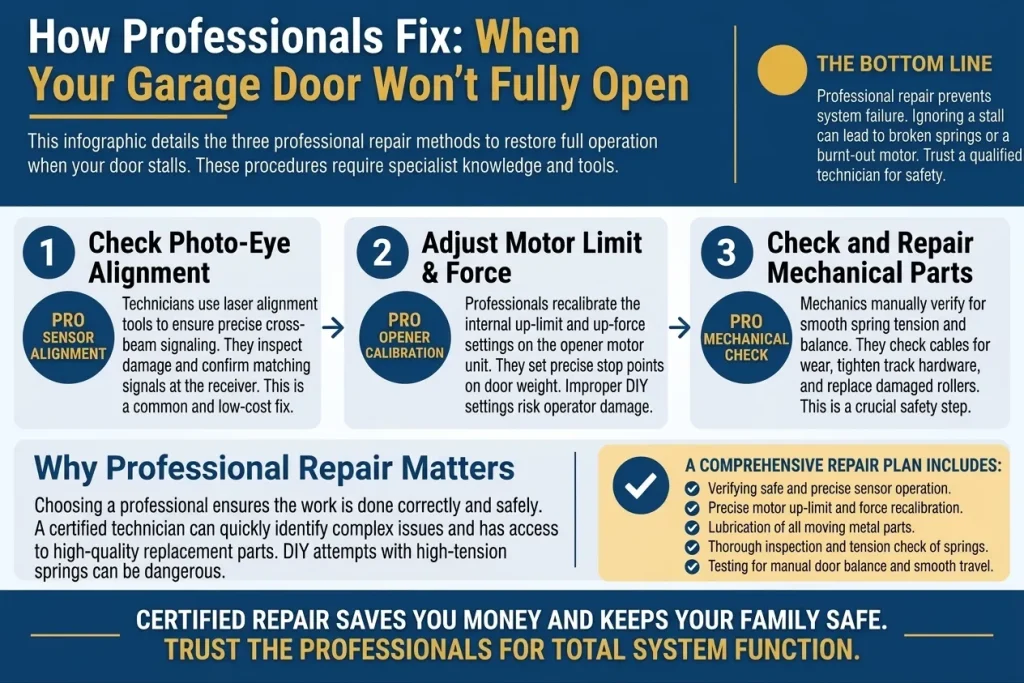
Professionals fix a garage door that won’t fully open through a diagnostic inspection, targeted adjustments, and a final test of the complete range of motion. Licensed garage door service technicians carry tools and training that go well beyond what most homeowners have access to at home.
Understanding this professional process helps set realistic expectations before scheduling any repair visit around the home or business property. This guide walks through each stage in careful order, from the initial inspection through the final walkthrough once the entire repair is fully and safely complete.
Key Takeaways
- Professional inspections cover sensors, springs, rollers, and opener settings together
- Diagnostic tools reveal issues a visual check alone often misses
- Spring tension adjustments require training due to the safety risk involved
- Technicians test the full range of motion before considering the job complete
- Warranty coverage often applies when a licensed technician handles the repair
What Does a Professional Repair Process Look Like?
Professional repair visits follow a structured process built to identify the actual cause before any adjustment gets made.
Repair Step | What It Involves | Why It Matters |
Diagnostic inspection | Checking sensors, springs, rollers, and settings | Identifies the actual cause before repairs begin |
Sensor calibration | Precise alignment and testing tools | Confirms consistent detection across the full path |
Spring adjustment | Tension testing and safe adjustment | Restores proper balance without added risk |
Opener calibration | Limit and force setting adjustments | Prevents future stopping or reversing issues |
Final testing | Full open and close cycle verification | Confirms the repair actually resolved the issue |
Overlooking any single step in this process risks leaving a secondary cause unaddressed even after the obvious symptom disappears.
Full Diagnostic Inspection
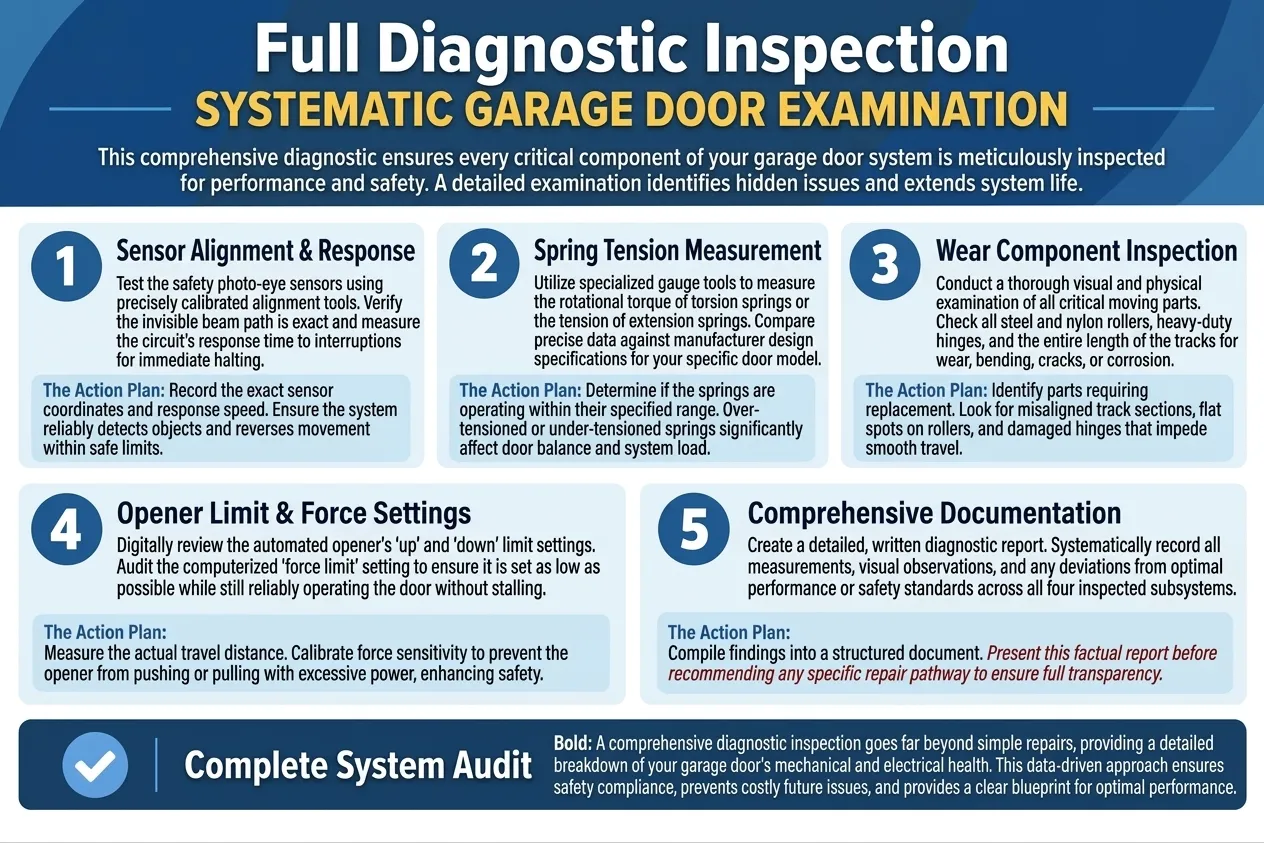
Diagnostic inspections examine every component connected to the door’s movement rather than assuming a single obvious cause.
Steps typically included in this inspection are:
- Testing sensor alignment and response time with calibrated tools
- Measuring spring tension against manufacturer specifications
- Inspecting rollers, hinges, and track for wear or damage
- Reviewing automatic opener limit and force settings for accuracy
- Documenting findings before recommending any specific repair
To weigh which causes a technician typically finds first during this inspection, read our guide on Why Is My Garage Door Not Opening All the Way?, which breaks down every possibility in complete detail.
Sensor Calibration and Testing
Sensor calibration confirms precise alignment beyond what a simple visual check alone can reliably achieve on its own.
Steps typically included in this process are:
- Using alignment tools to confirm exact sensor positioning
- Testing response time across multiple open and close cycles
- Adjusting sensor brackets for permanent, stable alignment
- Verifying detection accuracy at various distances and angles
- Replacing damaged sensor units when repair is not possible
A garage door repair addressing sensor calibration typically resolves issues that basic cleaning and realignment could not fully correct.
Spring Tension Adjustment or Replacement
Spring adjustments or full replacement restore the balance of the door needed for an opener to lift it safely and completely.
Steps typically included in this process are:
- Measuring current tension against the door’s specific weight
- Adjusting torsion springs using specialized winding tools
- Replacing springs that show wear beyond safe adjustment
- Testing balance manually before reconnecting the opener
- Confirming smooth movement across the door’s full range
Scheduling a broken garage door spring repair remains one of the most common reasons homeowners call in professional help for this exact issue.
Opener Limit and Force Adjustment
Opener calibration corrects both how far the door travels and how much force the motor safely applies during each cycle.
Steps typically included in this process are:
- Adjusting up-limit settings to match the door’s full travel
- Calibrating force settings to avoid unnecessary motor strain
- Testing settings across several complete open and close cycles
- Confirming auto-reverse function responds correctly every time
- Documenting final settings for future technician reference
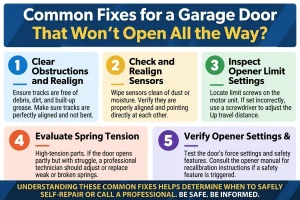
To understand how these settings connect to fixes worth trying before calling a professional, read our guide on Common Fixes for a Garage Door That Won’t Open All the Way, which breaks down every option in detail.
Final Testing and Walkthrough
Final testing confirms every adjustment made during the visit actually resolved the original problem before the technician leaves the property.
Steps typically included in this process are:
- Running multiple complete open and close cycles
- Verifying the door reaches full height consistently every time
- Confirming sensors respond correctly during repeated testing
- Walking the homeowner through the exact repair performed
- Explaining any maintenance needed to prevent the issue recurring
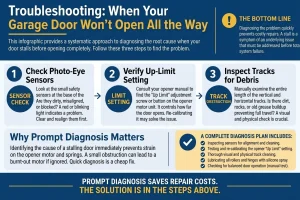
To find out how these same steps connect to diagnosing the issue before a technician even arrives, read our guide on How to Diagnose a Garage Door That Won’t Open All the Way, which walks through every diagnostic step in order.
How to Avoid Needing This Repair Again
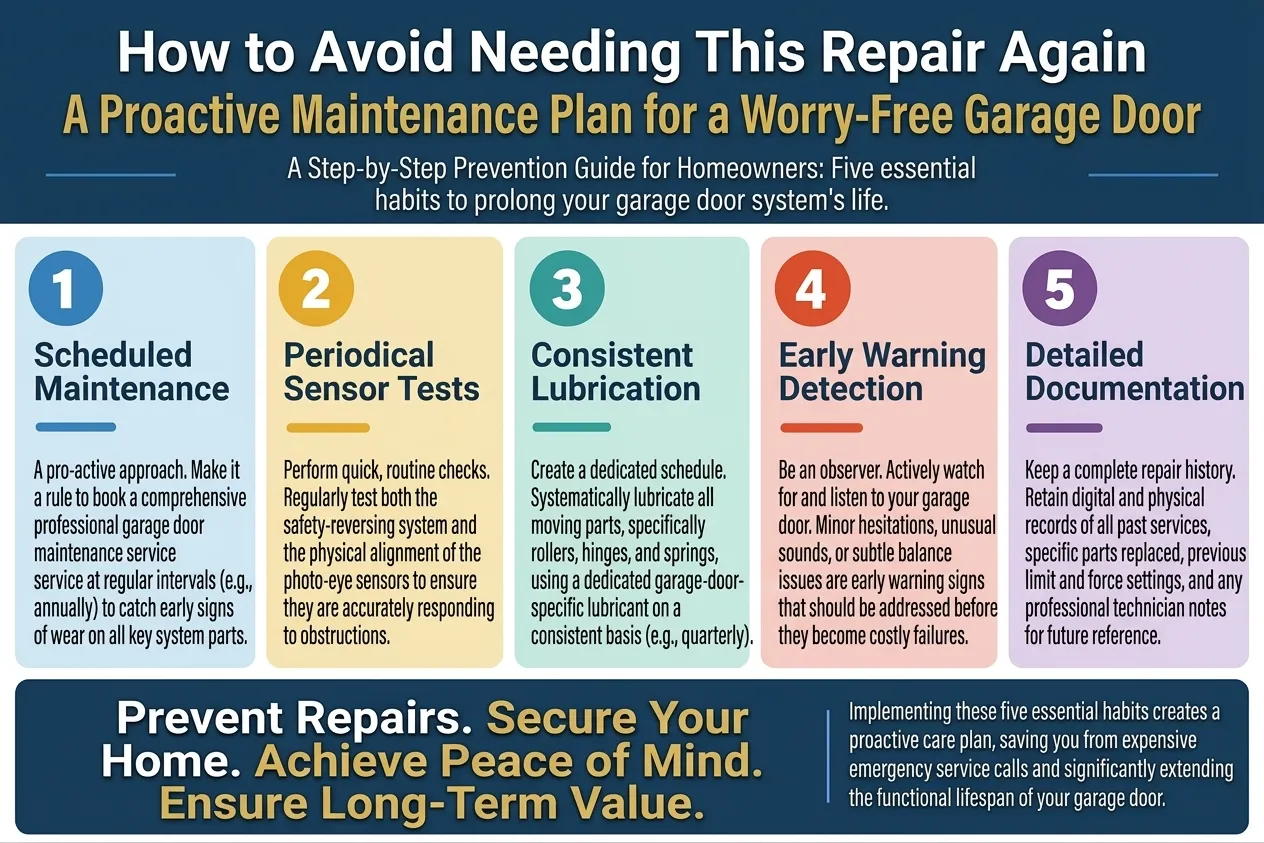
Preventing a repeat visit depends on consistent attention to the same components a technician just addressed during the appointment.
The following steps help avoid needing this repair again:
- Scheduling regular garage door maintenance to catch early wear
- Testing sensors periodically for alignment and response accuracy
- Lubricating rollers and hinges on a consistent schedule
- Watching for early warning signs before they become bigger issues
- Keeping documentation of past repairs and settings for reference
Consistent attention between visits keeps the door operating reliably and reduces the likelihood of the same problem returning.
Professional Repair Closes the Gap That DIY Fixes Cannot
Spring adjustments, sensor calibration, and precise opener settings often require specialized tools and training well beyond what most homeowners have on hand at home. Professional repair closes that gap by addressing every possible underlying cause thoroughly during a single, focused visit to the property.
Affordable Garage Door Repairs of Castleton brings this same structured repair process to homeowners throughout Castleton, IN on every service call scheduled with the team. Contact us or give us a call today, and let the trained technicians get the door opening fully and safely again for good.